Victim theme we implement two option to show header and footer, One is for specific header footer for a specific page and another one is for global header and footer. You can select the specific header and footer from page meta header and page meta footer. Those two options are available at the bottom of the page. and you can get this page meta option when you edit page normally and global header footer is for the entire site, with this you can set all site header and footer. this is not for the specific page it’s for all site. this option available at customizer header and footer settings
- Global Header Settings: We include global page header, which is available at Appearance > Customize > Header Settings. So you can customize header global settings is from here
- Specific Page Headers: We include individual page meta boxes for each page, So from here you can select different header form each page. This option is available when you add a page then each page has options in bottom. So from here at header Tab, you can select your header, logo, menu and colors.
Note: When specific page header are selected then global header not work at this page. So sometime after import demo then you need to make default theme settings for all option at page. So that global things are displayed. We add the things in demo to make every demo from same page.
Manage The Global Header
For managing Global header Settings, we included a lot of header options. It’s all located in WordPress dashboard Appearance > Customize > Header Settings or From front end Admin bar > Customize > Header Settings.
Header Settings has 3 sub-menu as well. –
- Logo Settings
- Menu Settings
- Content Settings
Logo Settings: At logo setting, we included some options for managing logo, especially spacing. Ex-
- Logo Padding: If you need to added spacing at logo top and bottom then you can do it from here
- Logo Max Height: Set logo max height you can do from these options
- Header Height: Control Header height form these fields.
- Site Title Color: Change site title color with it
- Siter Description Color: Change site description color with this field
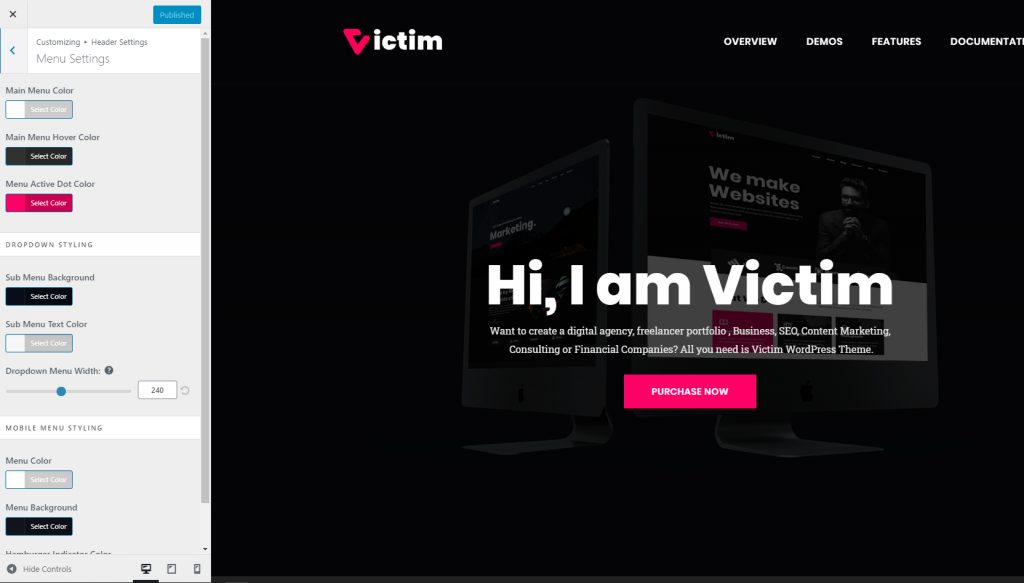
Menu Settings: We included some settings for the menu, sub dropdown menu etc.
- Main Menu Color – Changing color of the main menu.
- Main Menu Hover Color – Main menu hover color.
- Menu Active Dot Color – Main menu active dot color.
- Sub Menu Background – Submenu background color
- Sub Menu Text Color – Submenu text color
- Sub Menu Dropdown Width – Select Submenu dropdown width from here
- Dropdown Menu Width – Dropdown menu width at desktop
- Mobile Menu – And for mobile menu background and text color change options are available now. We integrate more option in future.
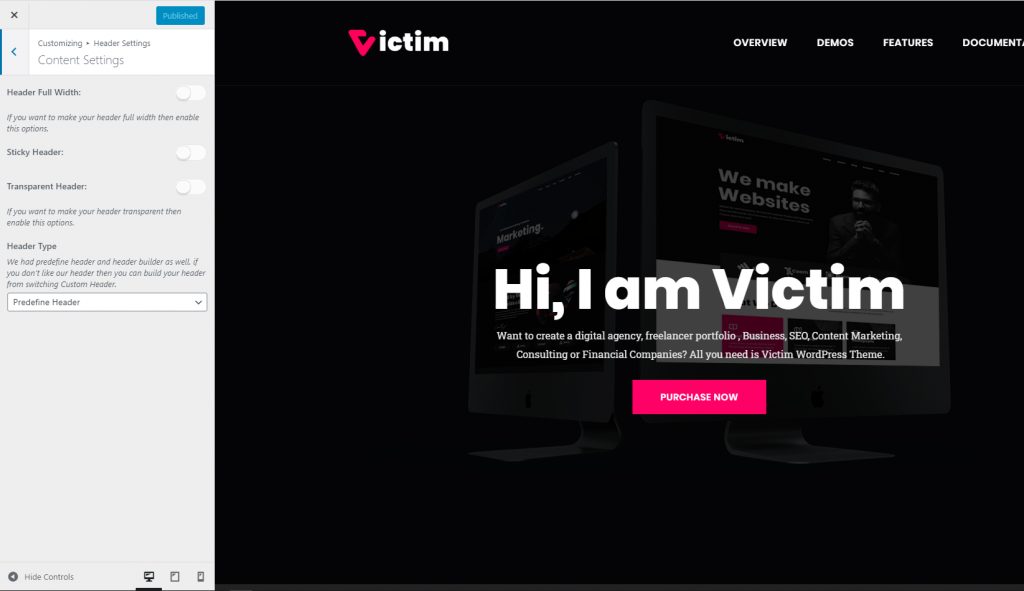
Content Settings: At content settings area we include to manage the content of header. At here we include a lot of options. Here we are trying to describe one by one.
- Header Full Width: For make the header full width these options are included.
- Sticky Header: Want to make your header sticky then this option is for you.
- Transparent Header: If you want to make your header transparent then this will be for you.
- Header Type: With header type, you can implement header which you made with elementor you can show it from here into the entire site.
Manage The Individual Header
For using individual header we include an option for each page. Like this –
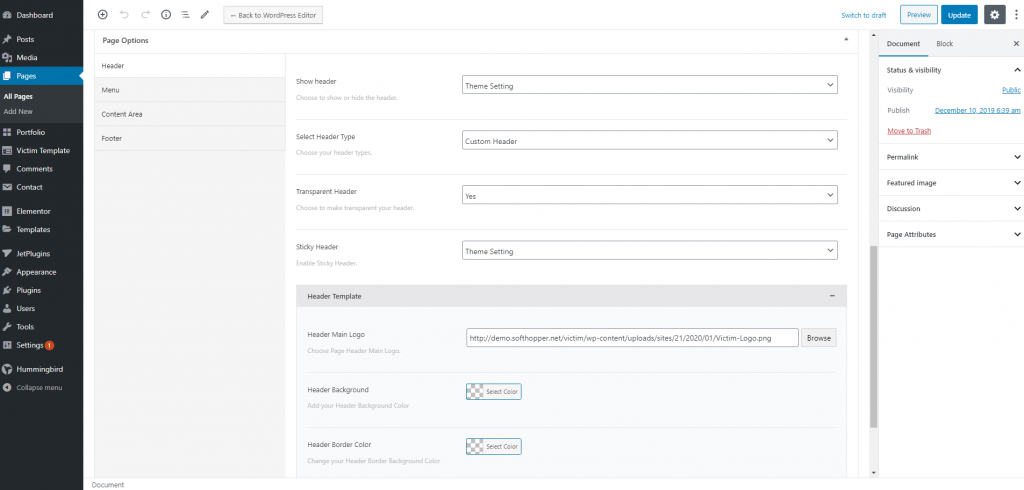
Here we include options like –
- Show header – To show or hide header from specific pages
- Select Header Type – Here three options included.
- Theme Settings – Using Default Header which is made from Global Settings
- Custom Header – Using the Same Header like Default Header which is made from Global Settings. The only difference is you can change some elements like – logo, color, border colors, full-width headers.
- Header Main Logo – Select specific logo for page from here. Leave it blank if you want to use default logo which you add from Customize > Site Logo & Identity Area
- Header Background – Using Default Header background colors for specific pages.
- Header Bottom Border Color – Using Default Header border color for specific pages.
- Custom Template – The header you make from Victim Template all are display as a list here. So you can select the individual header for each of these pages.
- Transparent Header – Using Transparent header from specific pages. If you want to use it globally then select transparent header from Customize > Header settings
- Sticky Header – Using specific page sticky header from here.
At menu tab you can select specific menu style fro specific pages. Like font family, font-size etc.
Note: If you see any change are reflected at Global Header, then you need to check first and need to be sure there is no specific header select for individual page. This things will applied for you when you want to control all header from one places. If things are not help then please contact with us. So we can mention more specific things at email.
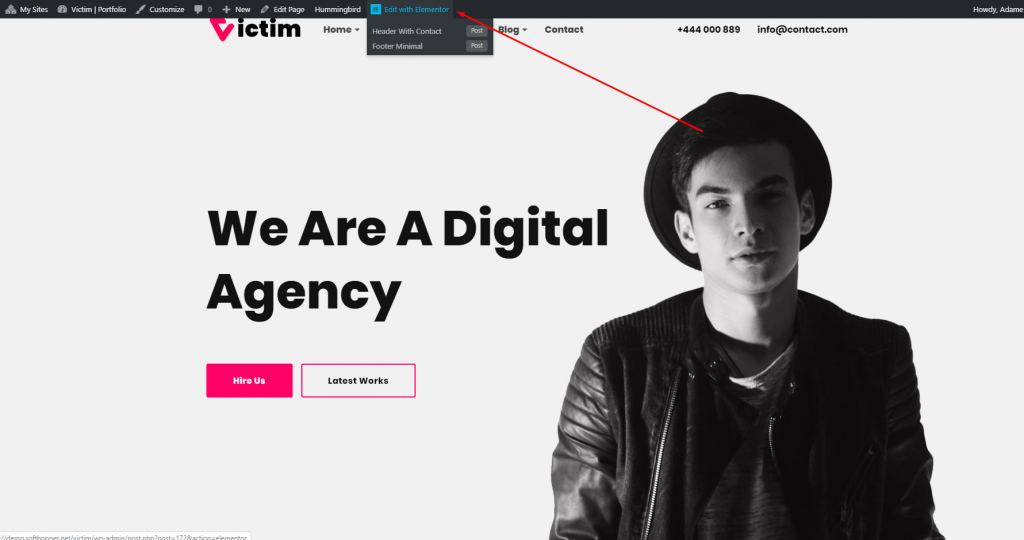
Also, Elementor has a nice option to find your header easily. If you find any list there then it will be from default header but if you select only custom header which you made at Victim Template and elementor page builder then things will appear there.